VB.net is the simplest way to get into programming even if you are not at all aware of what are loops, conditional statements and other geeky stuff. We at The Geeks Club have designed this series of tutorials of VB.net for beginners, to understand VB.net technology in easiest words, as well as for regular programmers to brush up things they have learnt in past. The best thing about VB.net is; you don’t have to invest money into any software as Visual Basic Express Edition can be downloaded free and that too officially. So let’s begin now.
Open your downloaded software, which will introduce you to the home screen of Visual Studio 2010 as shown below (We are using VS 2010 Professional, but it won’t make any difference as of now).
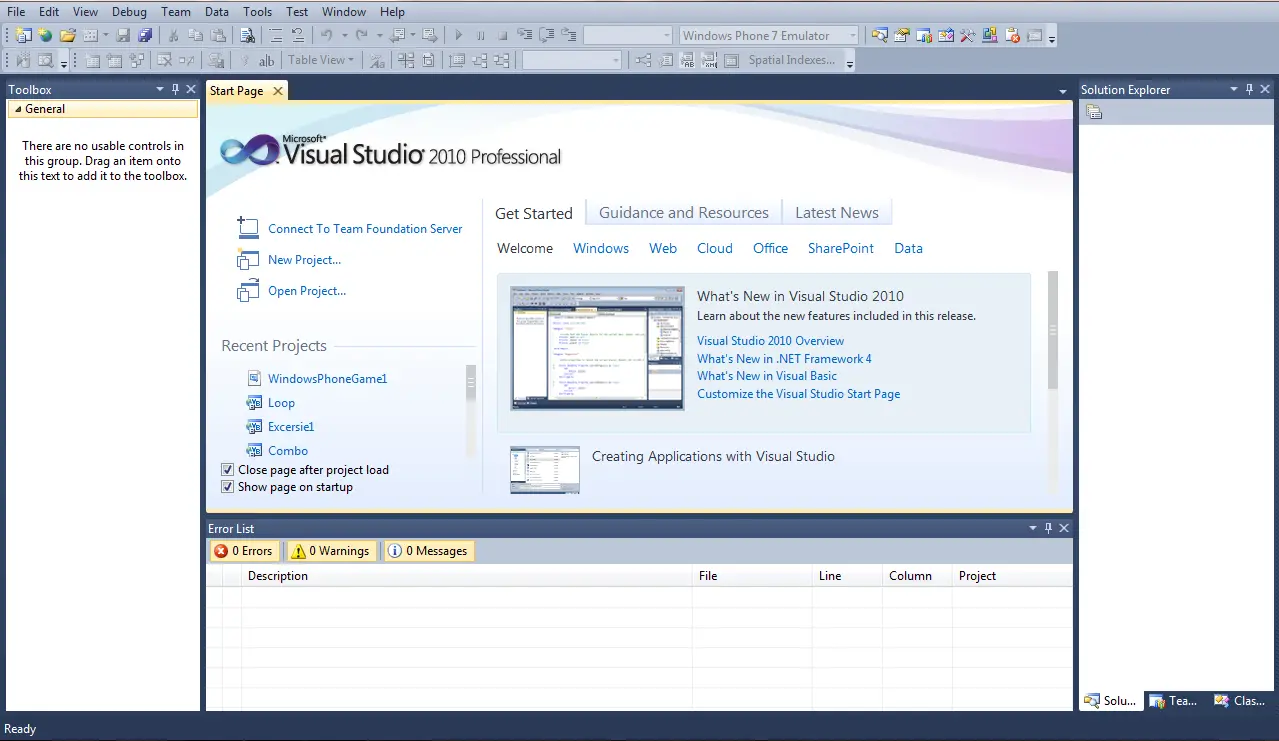
Too many things to go through on home screen, isn’t it? But don’t worry about all that stuff for time being. We are going to use this screen for creating new project or open the one that’s already created in past.
On the left hand side, you can see “New Project” option. Click on it and something like this will appear in front of you.
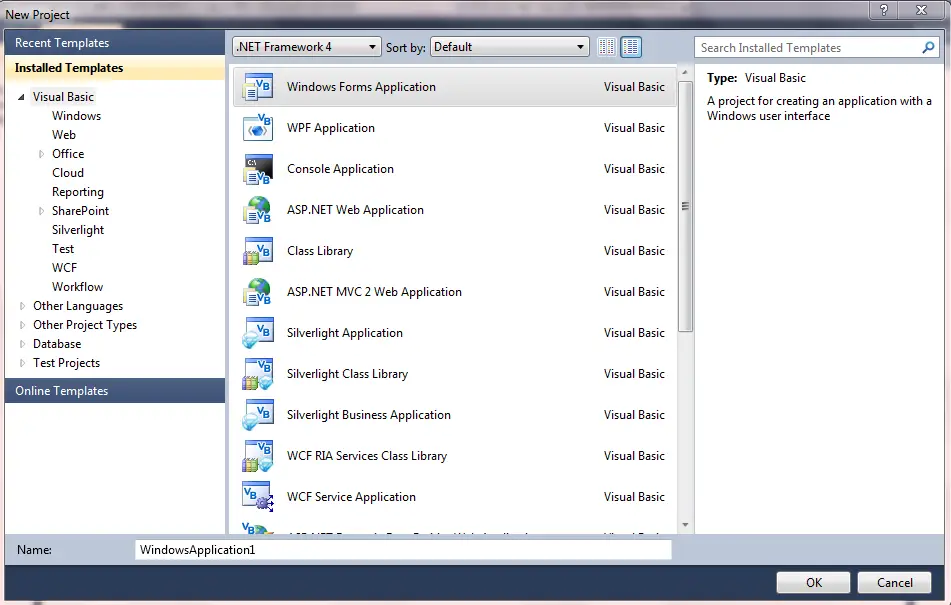
Again, there are lots of options to choose from. Select “Windows Form Application” under tab “Visual Basic” and click “OK”. It means you are going to create a Form Application to run on Windows OS. Change the name of the project at the bottom from “WindowsApplication 1” to “My First Project”. This procedure will create folder with name of your project, which is “My First Project” in our case, in My Documents folder of your computer once you save this one.
Clicking on OK will launch design time environment of VB 2010 consisting of a blank form at the centre, toolbox on left side, Solution Explorer on right top corner and Properties box just below it. At the bottom you can see a space for Error List. It will look something like below:

This form is what is visible to others who are using your software. It’s pretty empty right now but soon we will make it attractive by adding some buttons, textboxes and other stuff. Let us run this empty form in order to understand how it will look to end user. To run the form, click on Debug tab on the top and click on Start or you can directly press F5 for debugging. Something like this will appear on screen:

You won’t believe but you have just run your first VB.net program successfully! Now let’s understand what happened. When you pressed F5, software went into debugging environment. In this environment, you can see result of programming.
So, for any application to run in VB.net, there are two steps: Design and Debug. In next section, we will learn how to add contents and controls to the form. So stay tuned!


1 Comment