When you buy or reset an iOS device like an iPhone or iPad, the very first thing you need to do is to activate the device using your iCloud account. When you purchase an iOS device, it is in a lock state. You will not be able to use or operate it until you unlock your device first. The good thing is that you can bypass iCloud activation on iOS Devices by yourself as well. You can easily bypass iCloud activation on your iPad or iPhone by following these steps right, as mentioned here.
Steps to bypass iCloud Activation on iOS Devices
Follow these steps to bypass iCloud activation for the iPhone or iPad. You will need to configure a lot of things, so make sure to have a tech guy with you or ask him to do it.
- Start over the activation process
- Select language & region
- Configure DNS
- Bypass iCloud Activation
We will be changing the DNS of the router to the USA IP address.
1] Start Over Activation
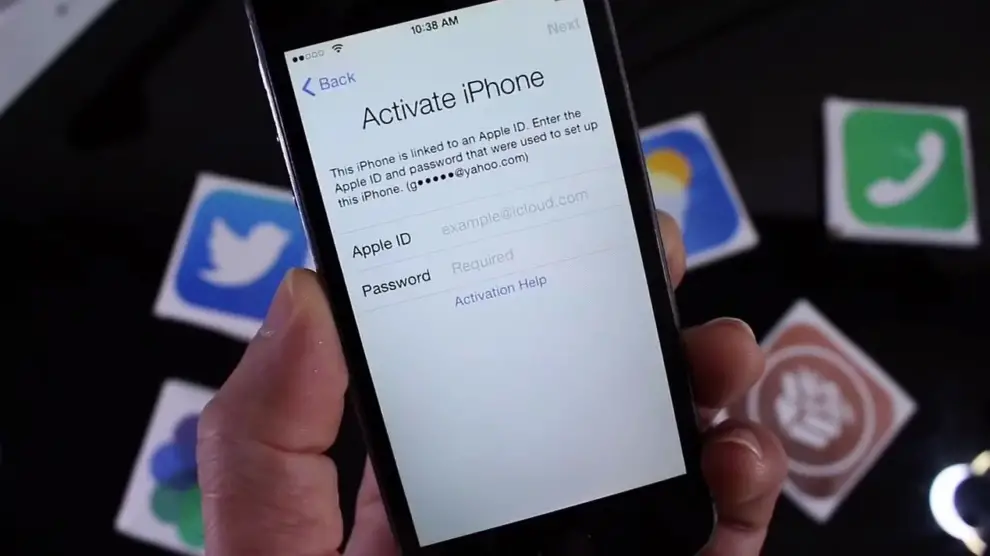
When you haven’t unlocked your activation yet on your iOS device, you will be shown the “Activation Lock” screen on your device with ‘Apple ID’ and ‘Password’ fields. Tap the Home button on your device. You will see an option of “Start Over” on the bottom pop up. Tap on it.

2] Select Language
Tapping on “Start Over” will bring the list of languages on the screen. Tap on the language of your preference. For instance, Tap on “English.”
3] Select Region
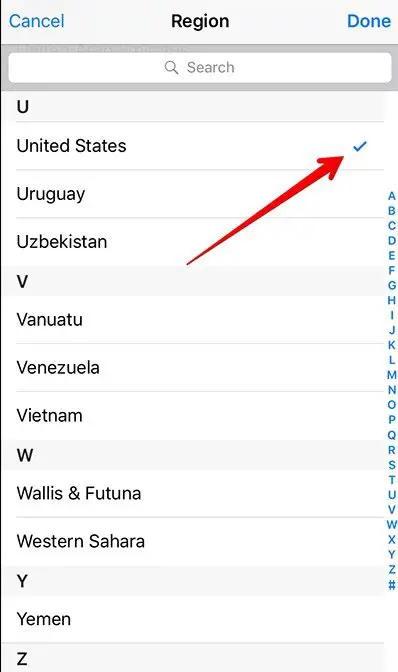
After selecting your desired language, you will be redirected to the next page. This page brings you the list of the Countries and Regions. Tap on your country. For instance, click on “United States.”

4] Choose a Wi-Fi network
You will need to choose your Wi-Fi network. You will see an option of “I” at the right corner of your Wi-Fi network, which is the icon for More Information. Tap on it.

If you don’t see the icon, press the Home button, it will show you the option of “More Wi-Fi settings.” Tap on that option.
5] Enter DNS to bypass iCloud Activation
Tapping on more information icon, you will be looked at the options for your chosen Wi-Fi network. Go to the DNS field and tap on it. Enter the DNS according to the Region you have chosen. For instance, enter 104.154.51.7 for the USA.
DNS server IP addresses for the USA: 104.154.51.7, Europe: 104.155.28.90, and Asia: 104.155.220.58.
6] Connect to Wi-Fi
Once you complete DNS entry, tap on the “Back” button at the top left of your screen. You will be back to the Wi-Fi lists page. Tap on your Wi-Fi network to connect to it.
If you have set a password for your Wi-Fi network, then you will need to connect. Enter your Wi-Fi password to continue.
7] Tap on Menu to complete bypass iCloud Activation
You are now connected to the server. You will see options for “Language” and “Menu” on the screen. Tap on Menu to access the iCloud DNS Bypass functions. Tapping on it will show you the lists of services. All these services are free.
Now you can use all the services on your iOS device. These steps are compatible with all versions of iOS. Just remember to enter the DNS according to your chosen region before connecting to the Wi-Fi network. And as we know, all these services are free. I hope these steps were clear enough to help you out.


