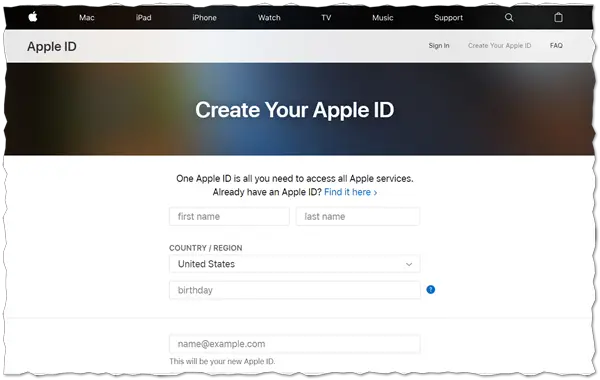
An Apple ID is an account you create to use everything you do with Apple. For example, you can access services like iCloud, the App Store, iTunes, Apple Music and more. All you must do is visit Create Your Apple ID website and follow the onscreen instructions. But what one should do following this exercise? Only a few can answer! Honestly speaking, there’s a lot you can do but here’s a peek at five things you should do after creating Apple ID. This guide will help you in setting things up and keep going.
Five things you should do after creating Apple ID
Enable iCloud drive
With iCloud Drive enabled on your device, keeping all your documents up-to-date and accessible across all your devices becomes easier. So to do this,
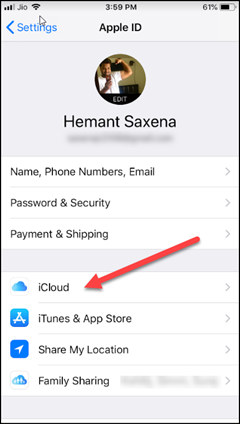
- Launch the Settings app and gently tap on the Apple ID banner.
- Look for the iCloud option. If visible, choose the icon, scroll down and tap the On/Off button for the iCloud drive.
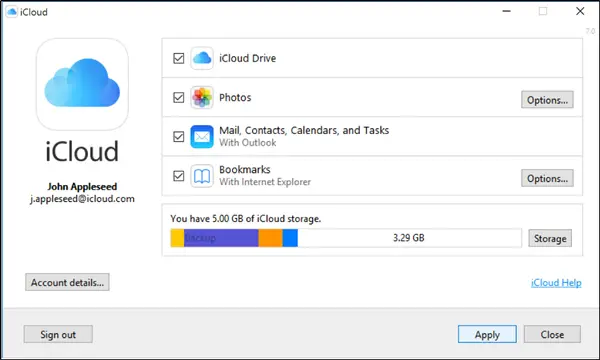
By default, Apple offers 5GBs of free storage. However, if you find it too less, you can choose to increase your storage with a monthly subscription. Subscriptions range anything between free to $9.99 a month. All depends on your storage appetite!
Setup Account recovery
Account recovery is sort of escaping route to get you back into your Apple ID account when you don’t have enough information to reset your password. For example, if you have forgotten your password and can no longer access your account, which is vital, you can try to reset the account password by answering few security questions configured earlier to avoid any security risks. If this fails, you can request account recovery. The process might take several days or longer before you can use your account again.
After you request account recovery, you’ll receive an email with a confirmation of your request and the date and time of when you can expect to regain access.
Once the waiting period is over, Apple will send you a text or automated phone call with instructions to regain access to your account. Simply, follow the instructions to get access to your Apple ID.
Configure your notifications and privacy settings
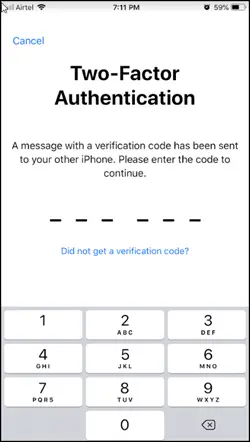
A disturbing feature about most apps is unwanted notifications sent via banners and other annoying pop-ups to your home screen. That said, you can override such annoyances by tweaking Notifications settings (unchecking notifications options). Similarly, it is essential to see that you don’t leak out your personal information to others like sharing your location. You can use two-factor authentication to add an extra layer of security for your Apple ID. It ensures that you’re the only person who can access your account, even if someone gets access to your password. Here’s how you can set up two-factor authentication on your iPhone.
- Go to Settings, tap on your name and choose ‘Password & Security’.
- If prompted, enter your Apple ID password and enable ‘Two-Factor Authentication’.
Activate Tracking and Family Sharing, if comfortable
Family Sharing feature in Apple devices makes it easy for users and up to five family members to share iTunes, Apple Books, and App Store purchases, an Apple Music family plan, and other things. One adult in your household can assume the role of the family organizer to enable seamless sharing and invite other family members to join.

1] Once all the members of the family agree to join, Family Sharing gets set up on everyone’s devices automatically. Thereafter, if they want to add more services to share with the family, the organizer can update Family Sharing settings at any time.

2] Also, if you are not aware, the Ask to Buy feature lets parents approve kids’ attempts to buy content, paid for using the family organizer’s bank card.
3] Once configured in iCloud’s settings, family members can access each other’s purchases alongside their own.
Tracking services like Find My Friends and Find My iPhone can help you recover a lost device. Find My iPhone can also locate a Mac, iPad or iPod touch. Invitations and follow requests to join can be sent from one device to another via iCloud and must be authorized using an Apple ID. You can find here more information on how to enable ‘Find My iPhone’ feature in an iPhone or iPad.
Download useful Apps
Although there are countless commentaries on its social impacts and implications, apps have become more personal to our lives. with just a few taps or swipes, we can find/share information, book tickets, appointments and pay utility bills. All these not only saves time but efforts too. Example, using Google Maps one can get 360° panoramic views of streets and real-time traffic conditions. With such valuable information at hand, a person can then plan his traveling by foot, car, bicycle, or public transportation. So, get a few good apps!
That’s pretty much lists down most important things you should do after creating your Apple ID. Security, Privacy would remain the top to make sure you never lose important things.
