Taking pictures with your iPhone after the sky goes dark may be challenging if you’re not doing it the right way. The pictures would often turn grainy and blurry which is not at all pleasing to the eyes. But with only a few simple techniques, you would be able to dramatically improve your night photography skills, which does not take much effort at all! These are some tips for you to get started on how to capture the best night photos with your iPhone that you never thought were possible.
Activate Night Mode
Do you own the latest iPhones in the market? If yes, have you tried activating the night mode feature on your camera? Night Mode is one of the latest features that come with the new iPhone line-up, starting with the iPhone 11 where it allows you to take pictures in low light without much hassle. When the sensor on your camera detects a low-light environment, night mode will be activated automatically. When your iPhone, which powers on iOS 13 and above, detects a low-light scene that you want to capture, it will automatically enable the night mode feature on your camera app. Bear in mind, however, that night mode is only available with the standard wide lens.
Keep it Steady
Blurry photos are often the main issue when you’re photographing at night, and this is due to the shutter speed being reduced when there isn’t much light in the surroundings. The shutter speed is the number of times the shutter remains open when a picture is taken, hence, it will stay open longer to grasp sufficient light and detail in your image, to which any movement caught during the shot causes it to appear as motion blur. Your iPhone might need several seconds to capture the night mode photo depending on how dark the surrounding is.
It’s important to keep the frame steady when capturing the photo as it may affect the result. To increase stability and control of the exposure clarity, try placing your iPhone on a solid and secure surface, or use a tripod.
Look for the light
iPhones can totally take good night photos, but it’s best to have at least a bit of light in the shot in order to get the best compelling image. Your iPhone night photos will not turn out great if you shoot in the dark with no light at all as lighting in your images affect its tone, mood, and atmosphere. So, venturing into the deepest recesses of a forest is unlikely to yield favourable results as it’s deemed necessary to help capture the narrative for the photos.
Head to populated areas such as city centres where you’ll find light sources such as street lamps or even shop window displays to get the needed minimal lighting for the best effect. You could also play with shadows with controlled lighting in your shot to give that full dramatic night affect in your photos.
Start your night photography during the blue hour
Doing night photography doesn’t mean you have to start your shots when the sky goes pitch black. Ideally, it’s best to take advantage of the blue hour – which occurs approximately 20 to 30 minutes just after sunset and just before sunrise where the sun is below the horizon.
During this hour, you’ll have plenty of natural light to work with as a large percentage of the sky turns blue, with hints of bright red, orange, and purple. But do keep in mind that you’ll only have about 10 to 30 minutes to take photos before it’s too late. To make the most of the astounding colours, try increasing the colour saturation or adjusting the warmth and it will make your night photography pops more.
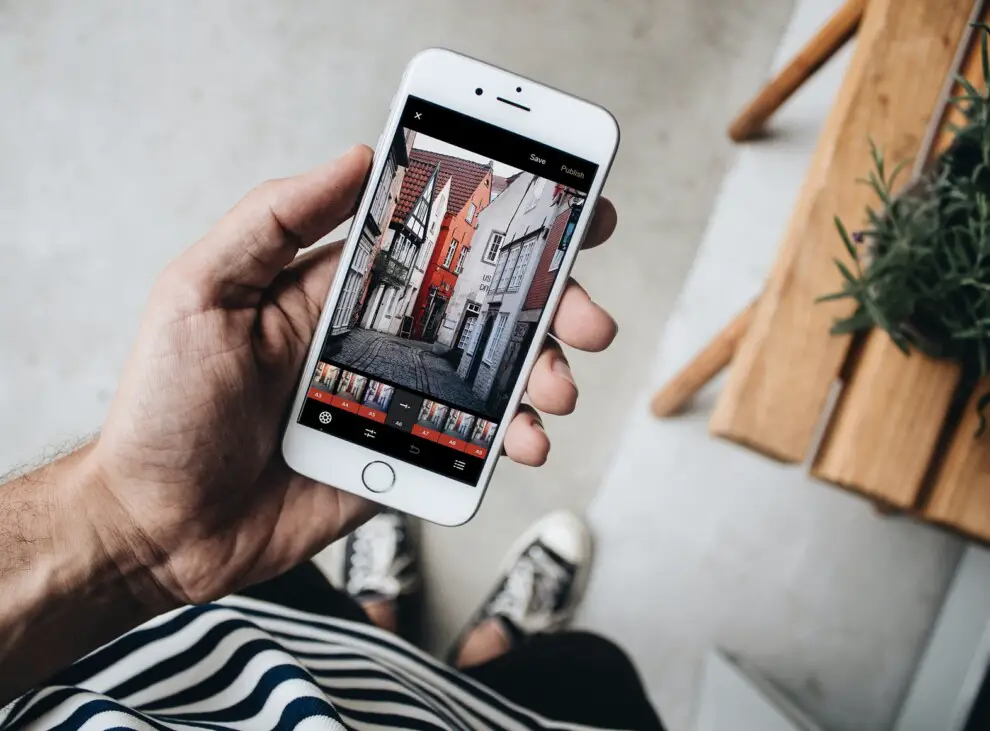
Use apps to edit your iPhone Night-time iPhone
Although you’ve tried your best to set up your iPhone’s camera to take the perfect shot for the night, the camera doesn’t always get the shot quite like the way you imagined it to be – so this is where image editing comes in and does its magic.
Minor adjustments can be made to your photos by using the iPhone’s native camera app where you’ll immediately notice a vast improvement to your shots as soon as you adjust the contrast and brightness. Consider installing VSCO or Lightroom if you need more control over the aesthetic of your image. These apps give you greater control over your phone’s settings than your iPhone does. For a more vibrant end result, try adjusting the saturation, sharpness, and even the shadows. To bring the most into your edits, and iPad brings you a great bigger screen experience for you to have a smoother control of your editing app.